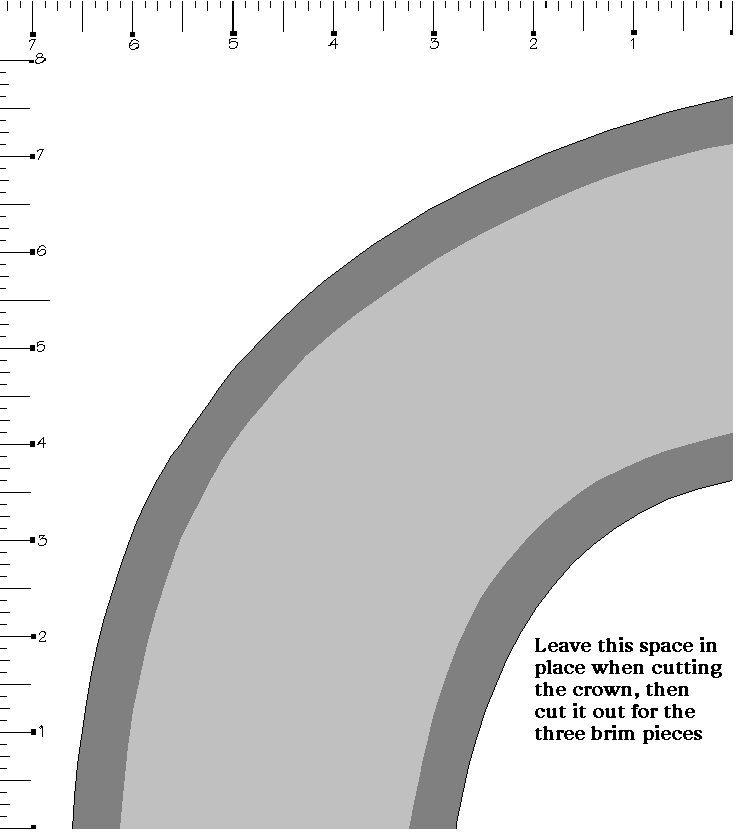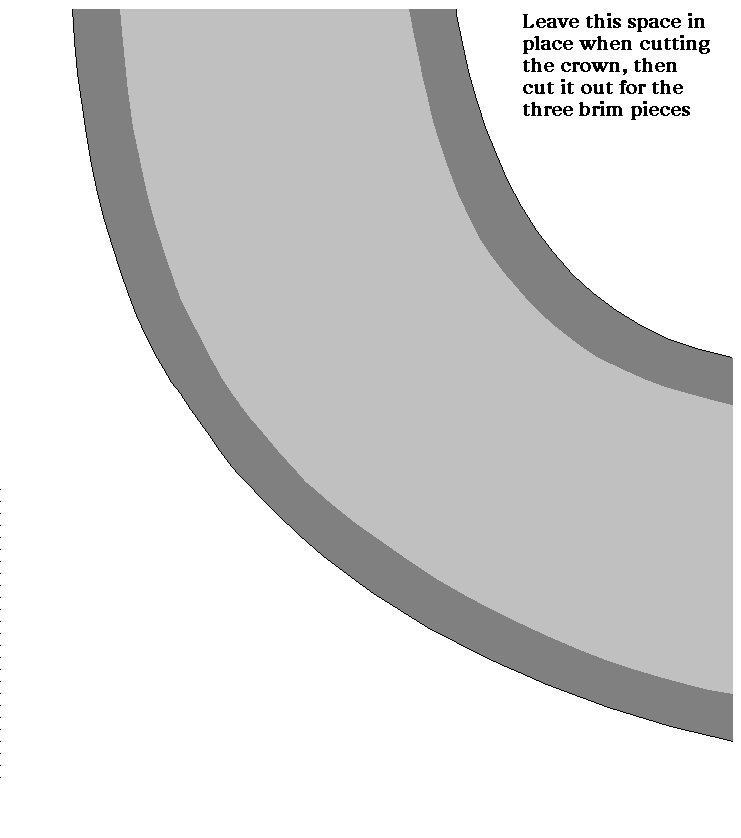
This pattern consists of three elliptical rings and one solid ellipse, all the same circumference.
Before you buy your materials, print out the patterns you see at the bottom of this page. The hat is a good average size; big
enough for a large head, and you can cut it down as you need for a small head. Notice the dotted lines
and the darker-shaded areas. These are the seams and the 1/2" seam allowances. If you transfer these
lines to the fabric, then you can follow them to sew the hat.
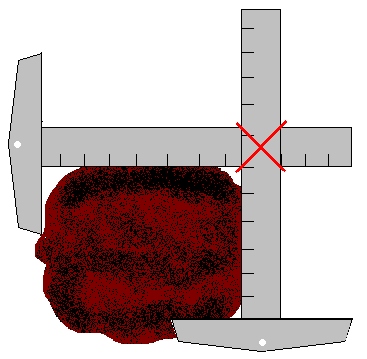
Here are two ways to measure your head.

Right now, the hat's inner seam is at 6 3/4" X 8 1/4"( The seam allowance is 1/2", so the inner edge is 5 3/4" X 7 1/4".) If your head's measurements are larger than the current dimensions of the inner seam then add the difference to the inner edge. Sew at a 1/2" from the inner edge, and the seam allowance is automatically reset.
There are plenty of circumstances where you will have to size down the hat, especially when making it for youths. In this case you subtract your width and length from the inner edge, so that the hole you cut is smaller. Again, the seam allowance will adjust itself. But, you will have to adjust the outer edge as well. Otherwise, the hat will look ridiculously large. (See? This is why you do not want to cut out the fabric first!) Just measure out 4" from the inner edge all around, and you are set.
Now, measure the length of the final ellipse. Multiply that length by four and round up to the nearest half-yard. Now, you know how much fabric you need to buy. Fabric comes in a variety of widths, the two most popular being 45" wide, and 60" wide. Both will provide more than enough material for this hat, but 45" is more economical. Remember: fabrics with nap must be cut to run the same direction along the grainline.
At this point, you might want to redraw the pattern. I recommend transferring it to the brown wrapping paper. In this way, you prepare to make more costumes in the future. Or, if you never plan to make another hat for yourself again, transfer the pattern directly to the fabric.
Laying Out the Pattern and Sewing

